Who can resist a cupcake? All flavors of cupcakes are 25% off today in honor of National Vanilla Cupcake Day.
Link to the sale at Pepita Needlepoint: SALE! National Vanilla Cupcake Day
See all upcoming specials by visiting the Event Calendar.
The official blog of Pepita Needlepoint
Who can resist a cupcake? All flavors of cupcakes are 25% off today in honor of National Vanilla Cupcake Day.
Link to the sale at Pepita Needlepoint: SALE! National Vanilla Cupcake Day
See all upcoming specials by visiting the Event Calendar.
We love coffee! To celebrate National Coffee Day, take 25% off our coffee and cup designs today.
Link to the sale at Pepita Needlepoint: SALE! National Capuccino Day!
See all upcoming specials by visiting the Event Calendar.
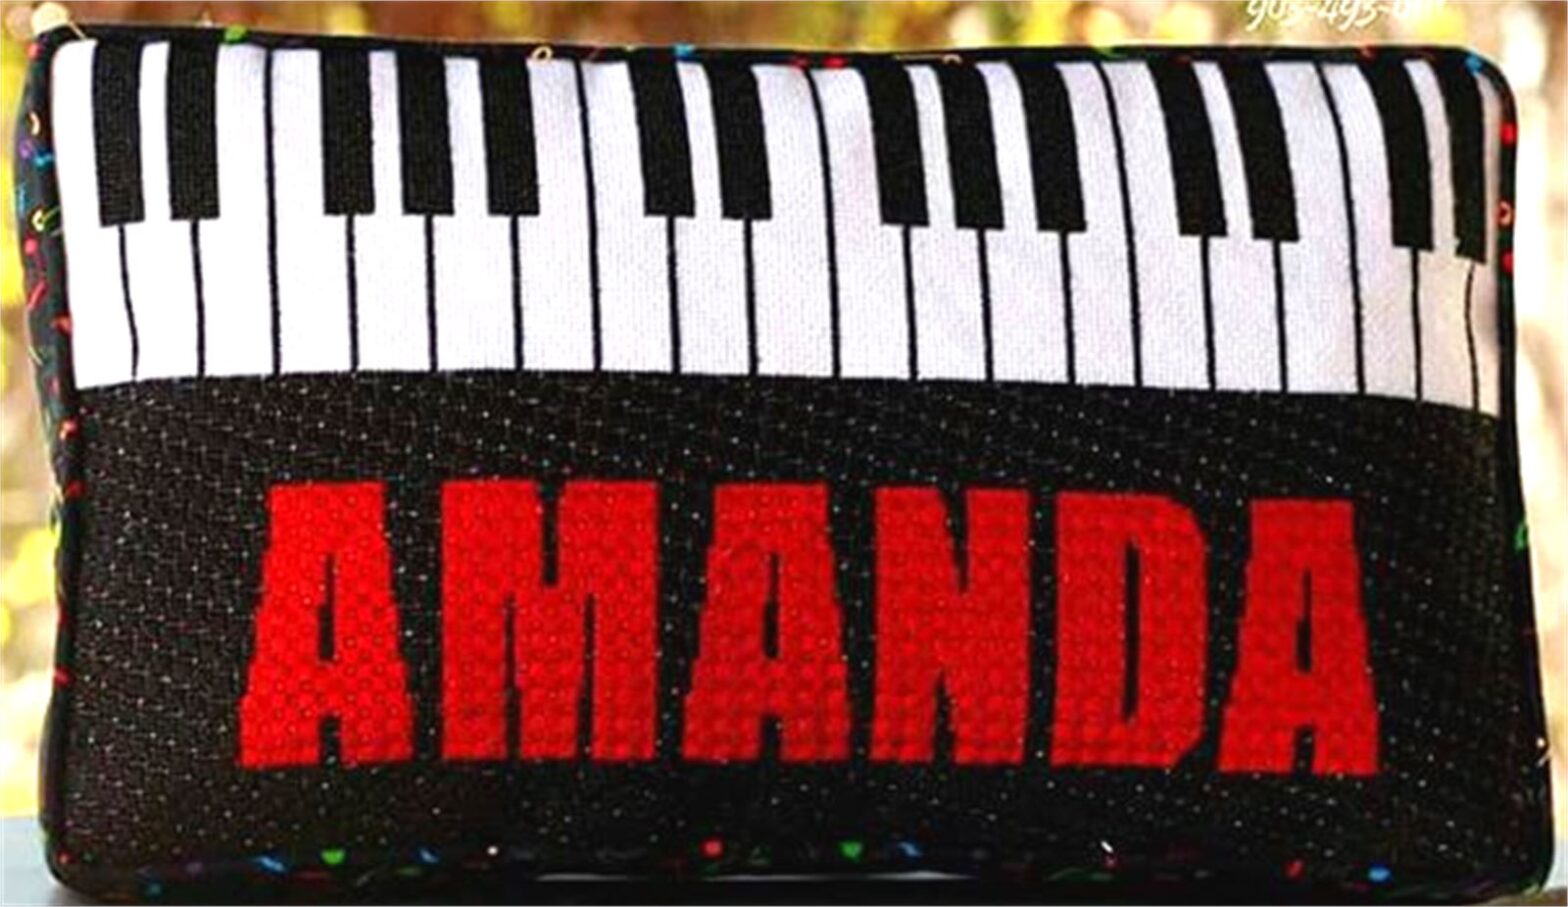
It’s National Saxophone Day! All music themed designs are 25% off until midnight.
Link to the sale at Pepita Needlepoint: SALE! National Saxophone Day
See all upcoming specials by visiting the Event Calendar.
Today is National Donut Day! Who can resist a favorite donut? Take 25% off all our donut and cupcake designs until midnight.
Link to the sale at Pepita Needlepoint: SALE! National Donut Day
See all upcoming specials by visiting the Event Calendar.
In honor of National Sushi Day, take 25% off all sushi needlepoint canvases.
Link to the sale at Pepita Needlepoint: SALE! National Sushi Day
See all upcoming specials by visiting the Event Calendar.
It’s National Magic Wand Day! All magic wands and princess designs are 25% off today in honor of the little princess in your life.
Link to the sale at Pepita Needlepoint: SALE! National Magic Wand Day
See all upcoming specials by visiting the Event Calendar.
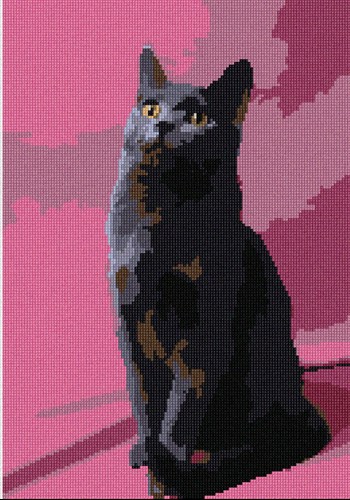
In honor of National Cat Day, take 25% off all cat designs. This promo expires at midnight so don’t delay, make your purchase today!
Link to the sale at Pepita Needlepoint: SALE! National Cat Day
See all upcoming specials by visiting the Event Calendar.
It’s International Leopard Day. Today the world celebrates leopards. We are celebrating by taking 25% off all leopard designs. This promo expires at midnight so don’t delay, make your purchase today!
Link to the sale at Pepita Needlepoint: SALE! International Leopard Day
See all upcoming specials by visiting the Event Calendar.
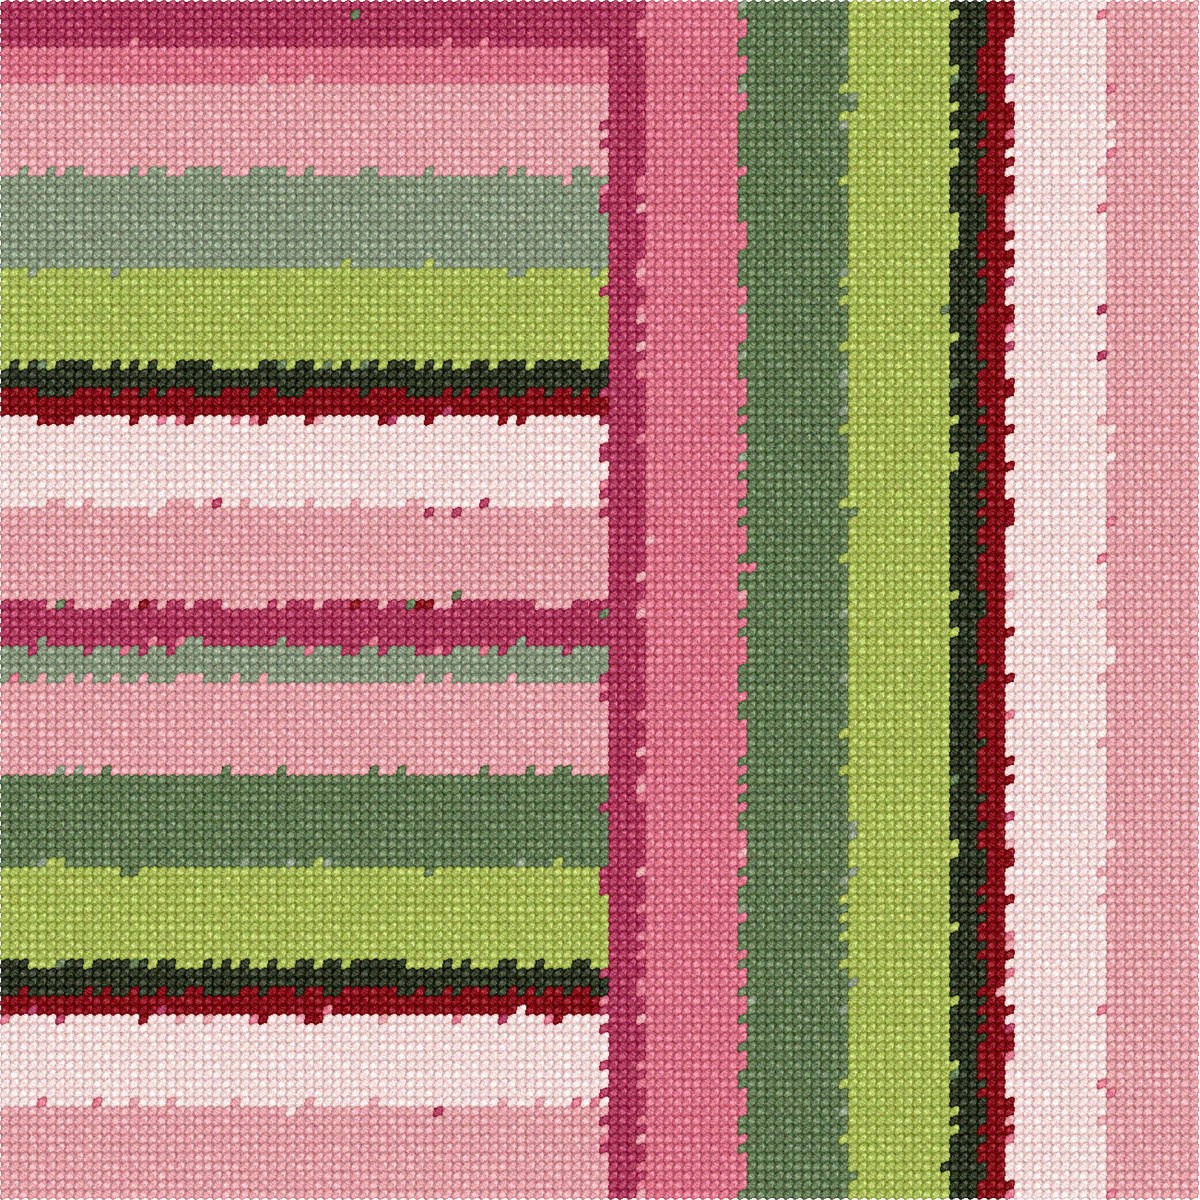
We love color! To celebrate National Color Day, take 25% off our popular stripe, palette silhouette and mauve collection designs.
Link to the sale at Pepita Needlepoint: SALE! National Color Day
See all upcoming specials by visiting the Event Calendar.
Who can resist a cupcake? All flavors of cupcakes are 25% off today in honor of National Chocolate Cupcake Day.
Link to the sale at Pepita Needlepoint: SALE! National Chocolate Cupcake Day
See all upcoming specials by visiting the Event Calendar.