I love stitching challah cover needlepoint kits. They are big canvases with plenty of room for creativity. But for some customers, stitching a project of this magnitude can be daunting.
Creating a large challah cover doesn’t need to take so long. Try stitching just the center of a challah cover and have the finisher do the rest. This reduces the cost of canvas, the amount of thread required, and most important, stitching time.
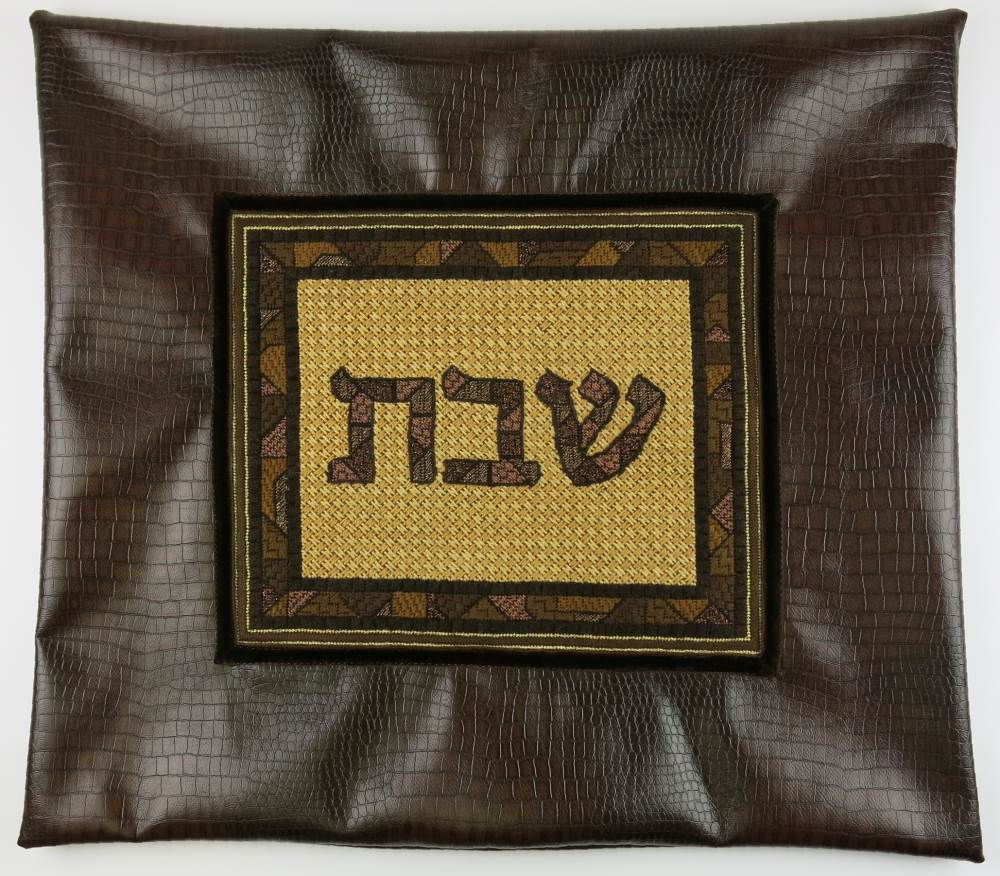
I designed the Challah Cover Chocolate Stained Glass backwards. I found faux crocodile leather in a chocolate bark color. I loved the sheen and texture. I loved the richness of the hues of browns ingrained in the “pleather.” The stained glass design is originally a tallit bag in royal blue and colorful glass, but I tweaked it to work as a challah cover. I matched thread to the material and started stitching.
You can see the results in the image at the top of this post. At the moment, it is in a window display on Coney Island Avenue in Brooklyn, New York.
I have another challah cover design at the finisher that uses a variation of this technique. It is a banner style finished with strips of suede on top and on bottom of the canvas. I stitched the banner strip in shades of dove blue/teal using DMC perle cotton # 926 and 927 and Kreinik #16 4012. As soon as it’s back, I’ll blog about it.
Leave a comment